


Sometimes designers experiment with kitchen interiors and it turns out great. After all, even the most inexpressive interior will become bright and memorable if you complement it with a couple of original solutions. Today we will talk about kitchens from real projects of designers and analyze what techniques they use to make the space stylish and functional.
1. Open shelves instead of cabinets
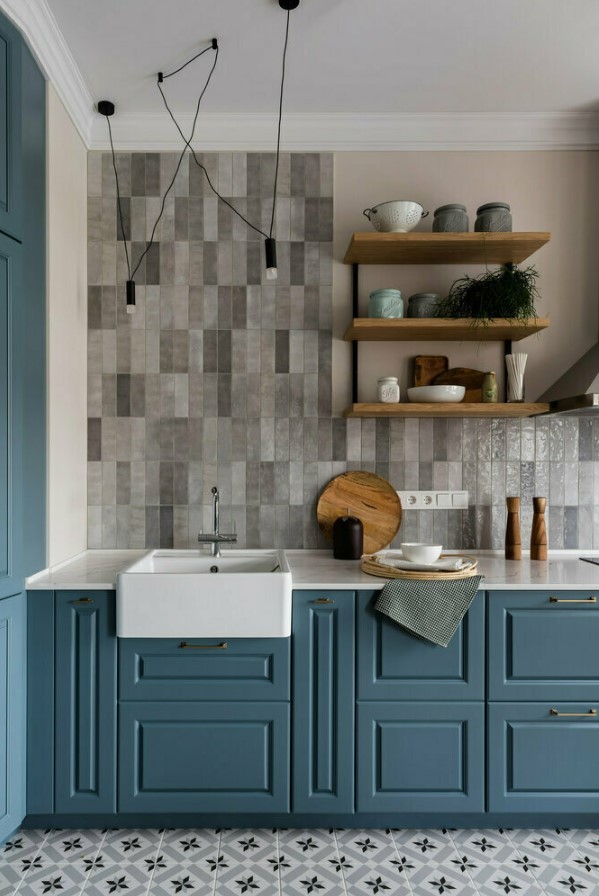
Open shelves are a great technique that can make your kitchen space lighter and more functional. The photo below shows several shelves of the same depth located above the work surface. The kitchen in this project is large, so designer Yana Grosheva and her Lampa Design Studio team decided to replace the upper cabinets with open shelves. They are convenient for placing dishes, containers with spices, cereals, live plants, and decor.
2. Built-in appliances
With built-in appliances, the kitchen begins to “work” as a single whole and does not resemble a showroom in a household appliances store. It looks stylish and does not create visual noise – this will be appreciated by studio owners and those who have a kitchen combined with a living room.
3. Splashback made of multi-colored tiles
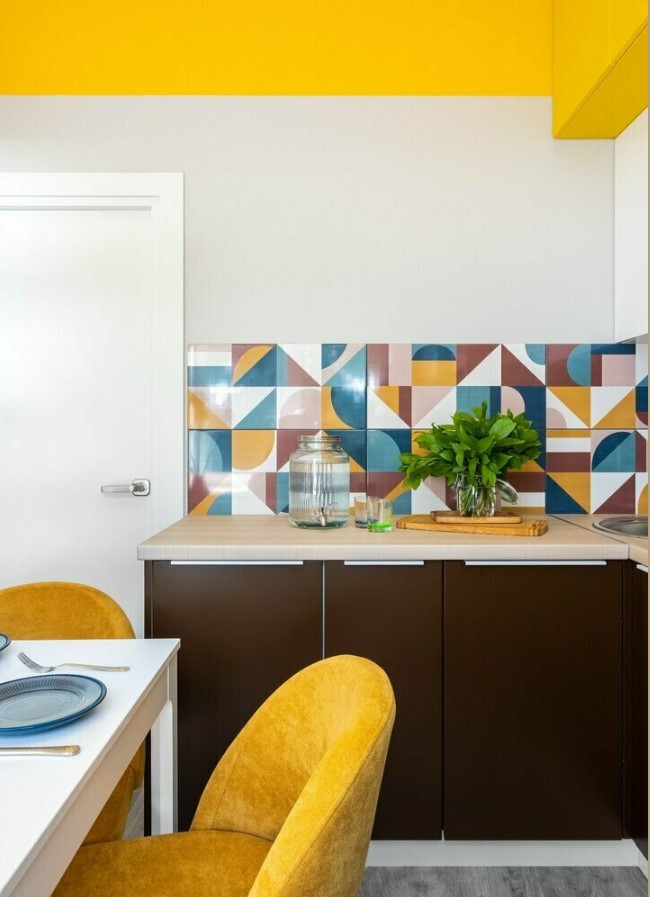
The next solution is suitable for housewives who are ready for bold decisions and are not afraid of bright accents. For example, a multi-colored apron can become a dominant color and attract attention. In this kitchen, the apron “collected” all the shades that are used in the apartment. Multi-colored geometric prints set the dynamics of the interior and look bright and fresh.
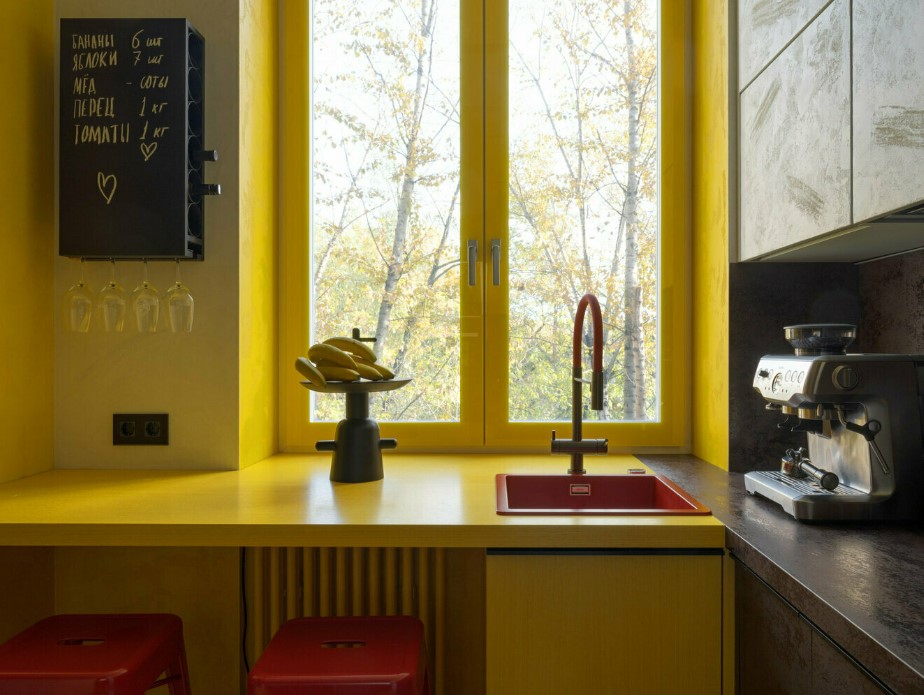
4. Accent sink
This cool and stylish kitchen will not leave anyone indifferent. Designer Alena Gorskaya worked boldly with color. She used bright colors in the kitchen, highlighting the sink area in yellow. An accent red sink adds the necessary boost of energy and comfort. It was supported by red stools, which added emotionality and expressiveness to the interior.
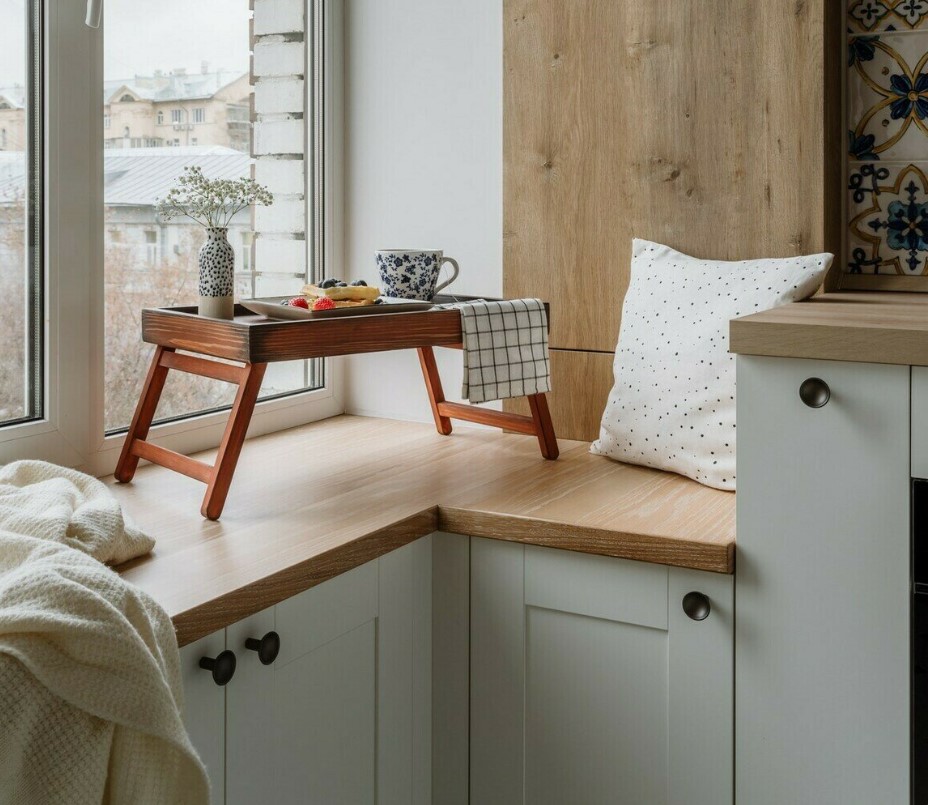
5. Functional window sill
The area of this kitchen is only 5 square meters. To accommodate everything necessary, the designers from the Carton Group studio tried to make maximum use of all the space to accommodate the necessary equipment and storage systems. The set is made to order. The functionality of the room was increased with the help of a window sill, arranging a comfortable tabletop seat on it. The space under the window was also not left empty; storage cabinets were placed there.
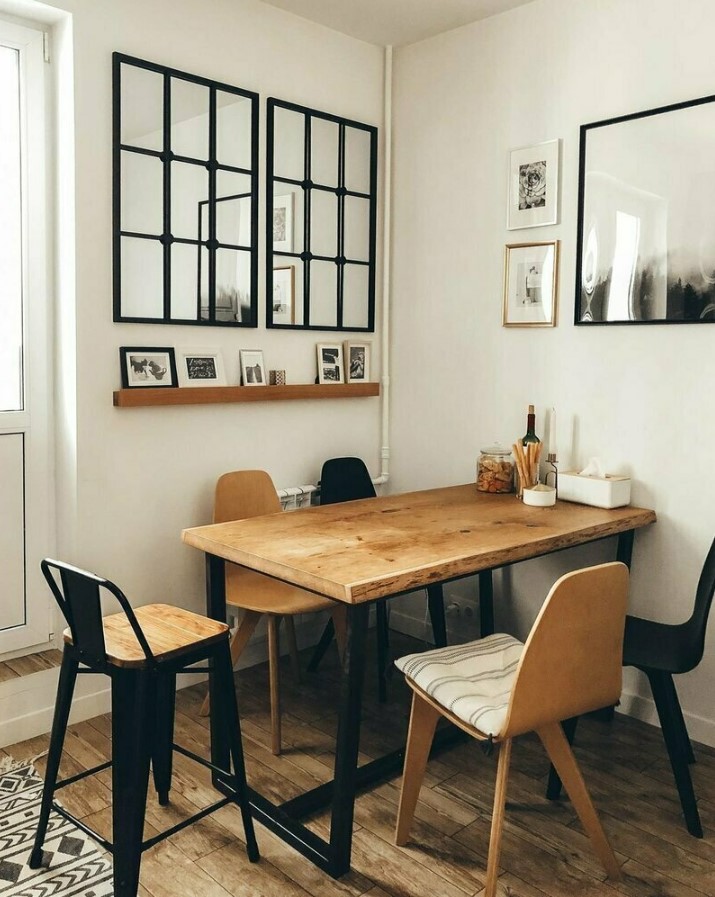
6. Mirror false
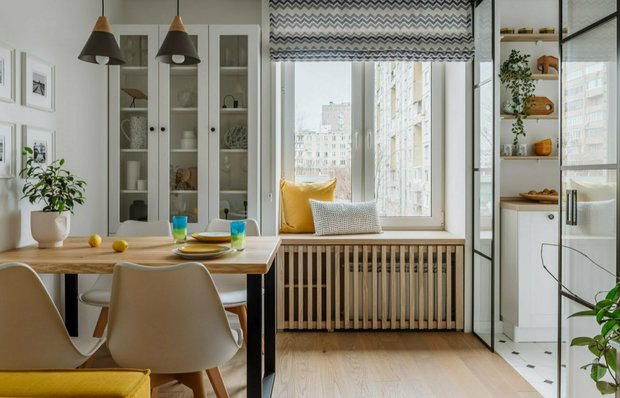
The design of this kitchen was thought out by the owner of the apartment, Anna. She is passionate about design and has decorated her home in her favorite mid-century style. The most interesting area was the kitchen. The dining table is made according to the owner’s sketches. It was placed opposite the balcony, and not in the aisle. Nearby on the wall, two mirrors were falsely decorated. It adds light and visually enlarges the space.
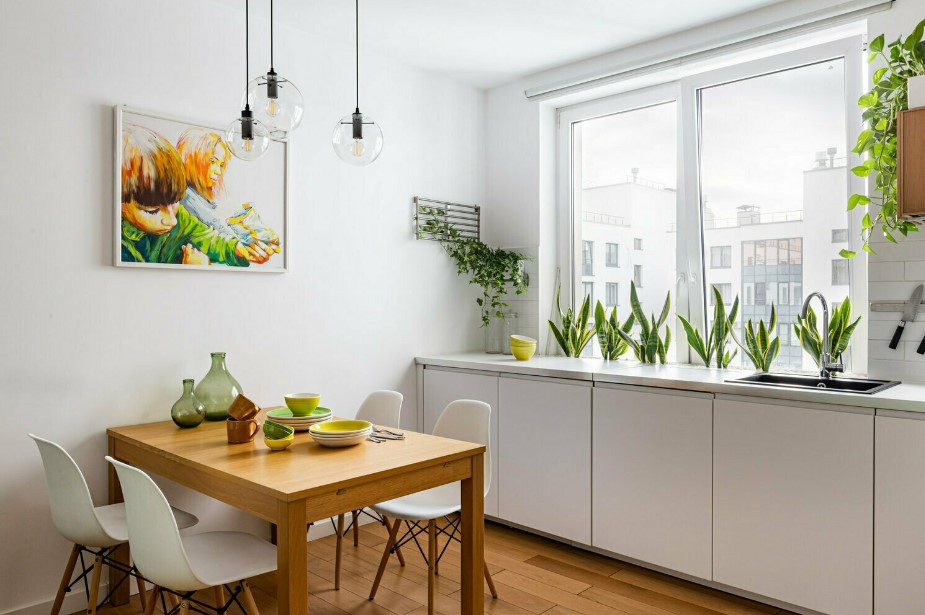
7. Kitchen along the window
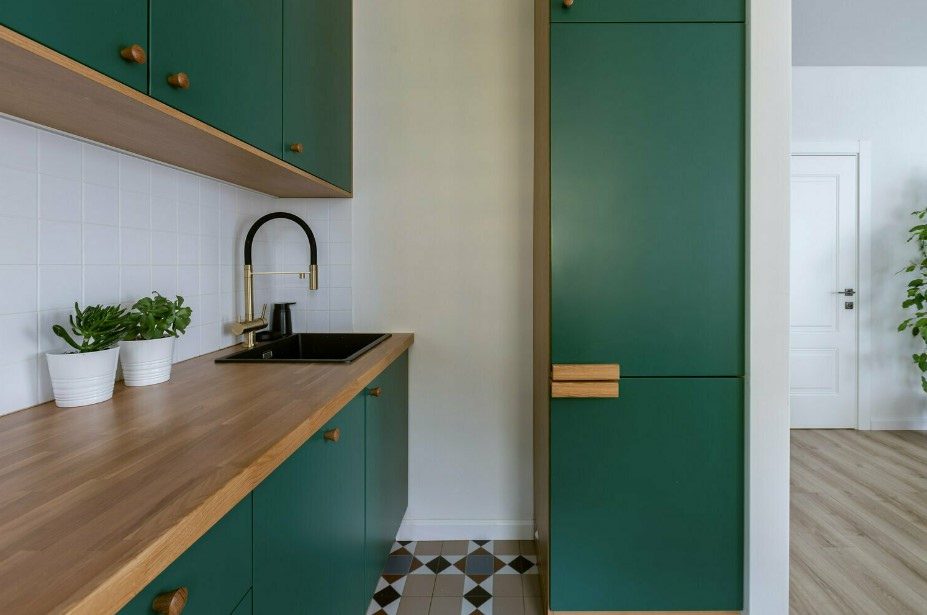
To furnish this kitchen, designer Anton Bitipash used a non-standard solution – the set was installed along the wall with a window, which is located below the level of the countertop. In the resulting niche, we placed boxes with plants growing as if from the tabletop itself. At the request of the customers, the refrigerator and freezer were built-in, placing them separately. The sink was installed opposite the window.
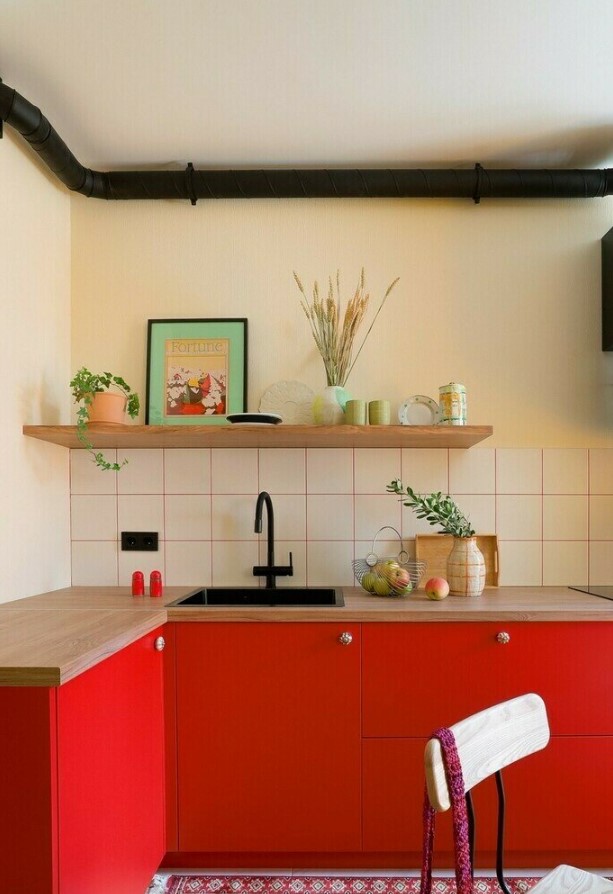
8. Decorating the hood pipe
Anna Pelipchuk equipped this kitchen for a young couple whose main wish was a bright, modern interior. The designer decided to add color through the red lower facades of the set, contrasting grout, and accent black details. The hood was connected to the existing vent using an iron pipe and painted black. It became a beautiful visual accent of the room. The black color was supported by other details: sink, faucet, hood, sockets.
The most important thing about our X that it is for
those who are in a hurry


