


Another cool remake that we’re excited about.
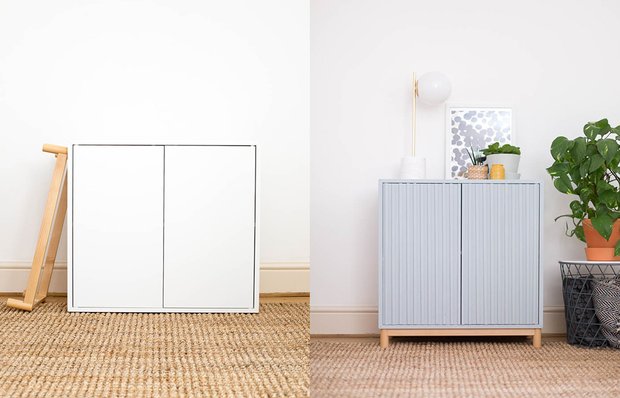
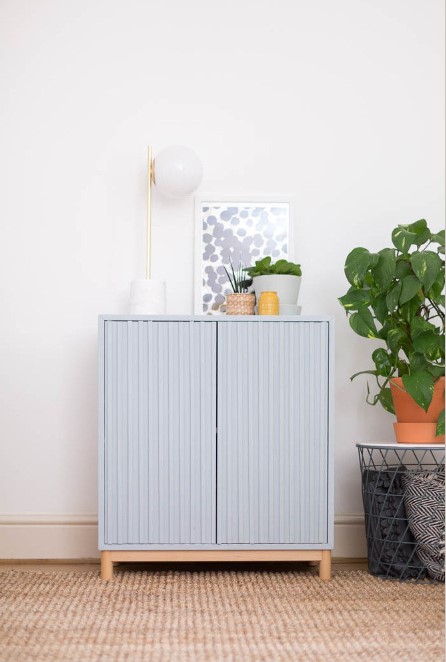
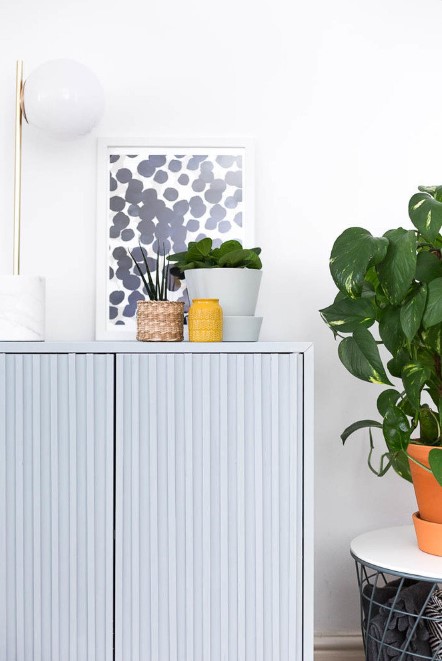
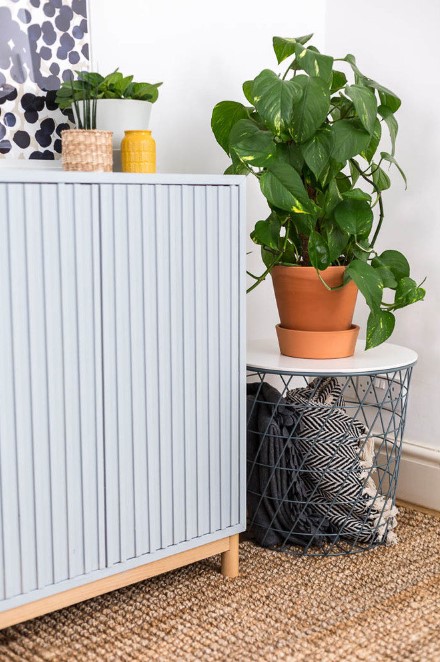
Francesca is a textile designer, blogger, and mom. She also loves to modernize familiar pieces of furniture and decor. On her website, the girl shared the idea of updating her IKEA cabinet on a budget. And it’s so simple that you can easily repeat it.
- White cabinet EKET IKEA;
- furniture legs EKET IKEA;
- chalk paint for furniture;
- brush;
- roller;
- wood glue;
- thin wooden plates.
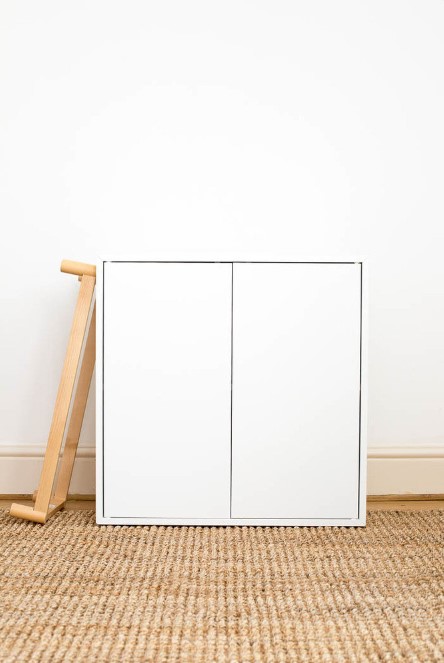
1. Preparing the surface for painting
Wipe the surface of the cabinet so it is clean and lightly sand it so the paint will adhere to it better. Francesca suggests not using any nail polish remover or paint removers and starting painting straight away.
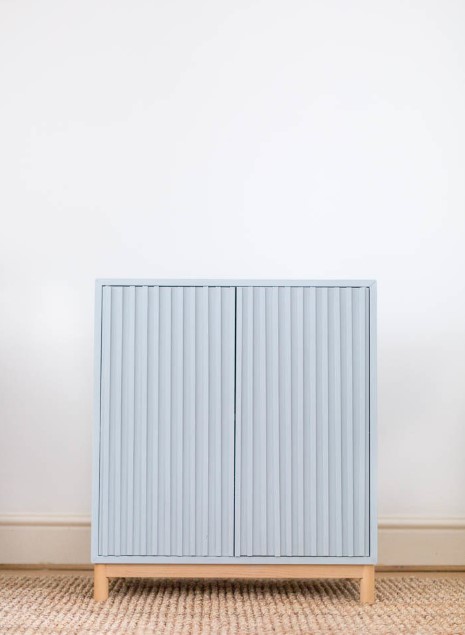
To achieve this shade, Francesca mixed two shades of paint: black and duck egg. But you can experiment and find your perfect shade. Place the cabinet on a piece of fabric, newspaper, or craft paper (so as not to stain anything). Using a roller, apply the first coat of paint and let it dry.
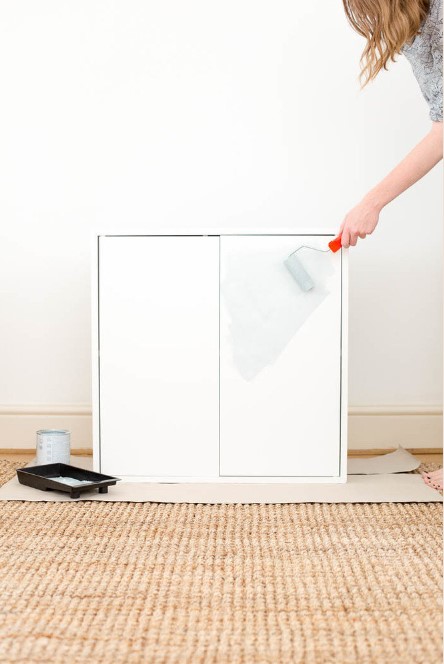
Then apply a second (and third, if necessary) coat of paint. And don’t forget to let each layer dry.

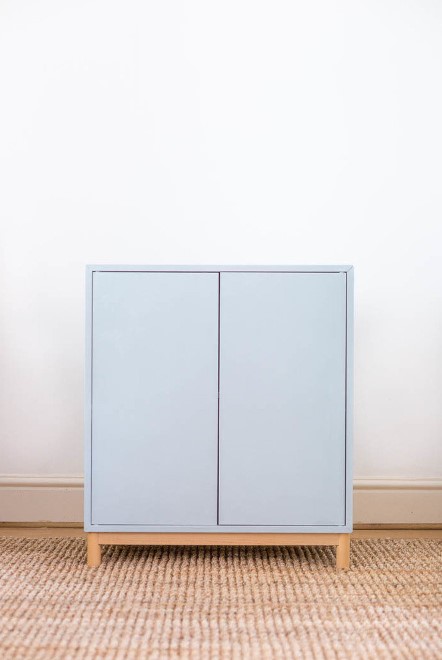
2. Attaching the legs
Once the paint is dry, attach the legs to the cabinet. Francesca bought furniture legs from the same series as the wardrobe. They come with fastenings and instructions.
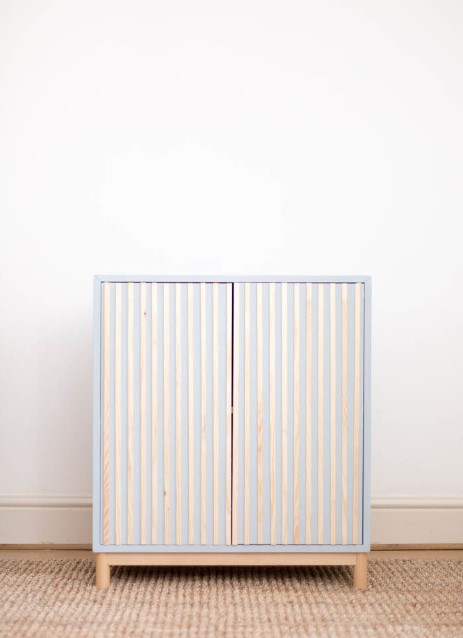
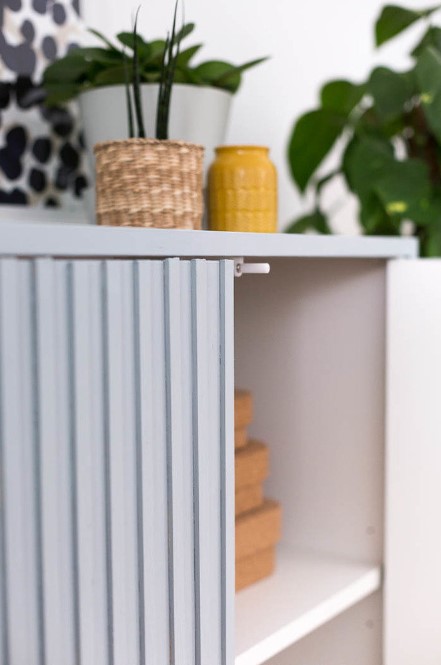
3. Decorating the facade
Francesca took a piece of plywood and cut it into many thin slices. Attach them to the facade using glue (make sure it is suitable for wood).
An important point: the plates should not interfere with you opening and closing the doors.
4. Apply paint again
Apply a few more coats of paint (this time using a brush) and let the cabinet dry. Ready!
The most important thing about our X that it is for
those who are in a hurry


